This guide will walk you through the essential hardware and software components, the correct setup process, the four predictable steps of the checkout flow, and the best practices and quick fixes staff need to master for smooth, daily operation.
Learning how to use a POS system effectively is essential for any modern business. It is much more than a simple cash register, after all.
A POS system manages everything from inventory to sales reports. Mastering its proper setup and daily use is critical for accuracy, speed, and error prevention.
Key Takeaways:
- A modern POS combines hardware and software to manage inventory, employee access, digital receipts, customer profiles, and sales reports.
- Proper configuration involves connecting and testing hardware, accurately adding products and menus, and configuring taxes and payments.
- The standard checkout flow includes the following steps: 1) Log in and start a sale; 2) Add items to the cart; 3) Review totals and take the customer’s payment; 4) Complete the sale and provide the receipt.
- Staff should use individual logins, double-check the cart before payment, follow strict cash-handling procedures, and know how to quickly troubleshoot common POS issues.
What Is a POS System?
A POS system is the combination of software and hardware that a business uses to take payments and record sales. It matters because it helps the checkout process move faster, reduces mistakes, and provides owners with clear records of what’s selling and when.
While often confused with a basic cash register, modern POS systems do much more than hold cash. Modern setups manage inventory counts, employee access, digital receipts, and customer profiles.
For example, when a cashier scans an item, the price and tax are calculated automatically, the payment processes, and the sale is added to the day’s totals.
Whether you use a stationary terminal or a mobile mPOS, the right type of system ensures your reporting stays accurate and organized.
Components of a POS System
POS components are split into hardware and software:
- The hardware consists of the physical components needed at the checkout, like a cash drawer, terminal, tablet, credit card machine, receipt printer, scanner, or any other device used at the checkout.
- The software powers the systems and applications businesses need to run, including inventory management, sales reporting, employee management, integrations, customer loyalty, eCommerce, and more.
POS Terminal or Tablet
The POS terminal or tablet is the main screen employees use to ring up sales. It displays products, builds the cart, applies tax, discounts, and coupons, and guides the checkout process to be fast, efficient, and accurate.

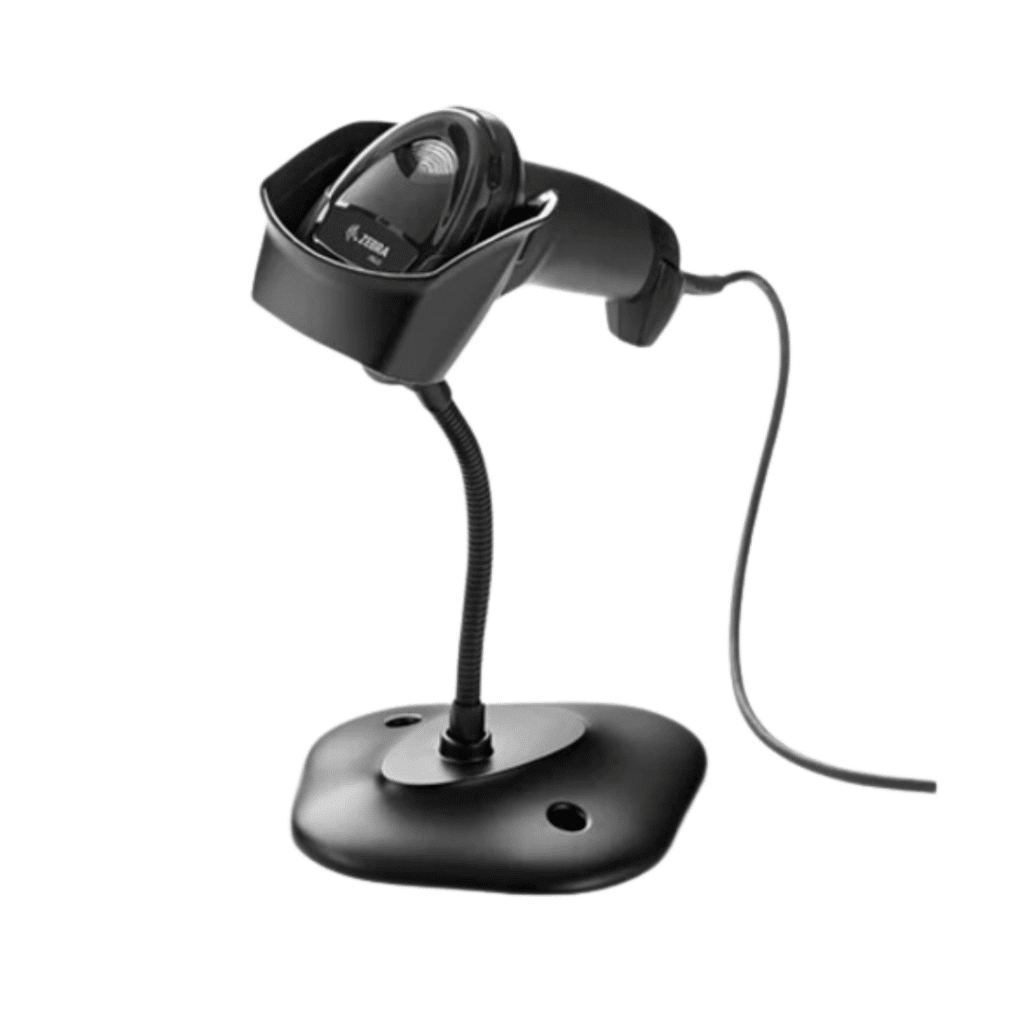
Barcode Scanner
Barcode scanners are common in retail environments. They read product labels to recall the correct item and price, reducing manual entry and pricing errors. Scanners are also used for conducting inventory counts. Some stores also use scales with scanners for items sold by weight, like produce.
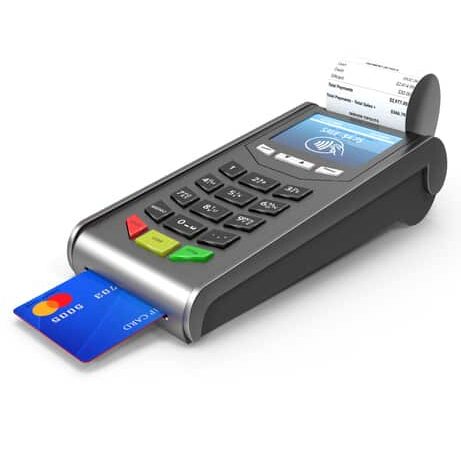
Card Reader
The card reader processes debit and credit card payments. Customers tap, insert, or swipe their card to complete a purchase. This device confirms payment before the sale is finalized and makes sure the merchant is communicating with the right parties to complete a transaction.
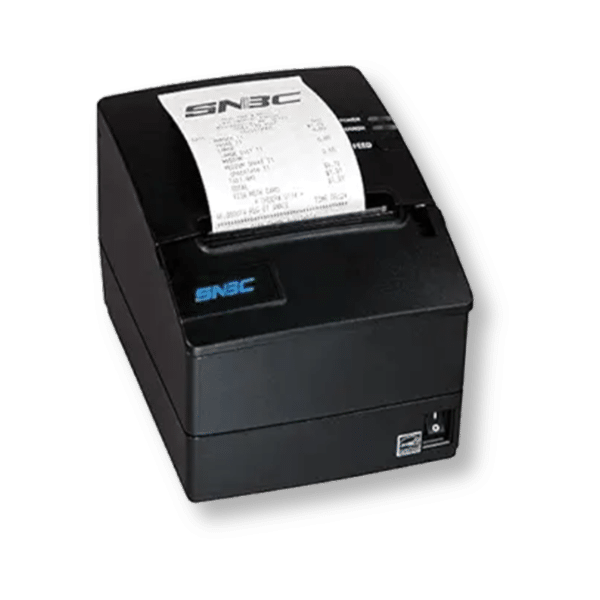
Receipt Printer
A receipt printer creates a paper copy of the transaction for the customer. It lists purchased items, totals, and payment methods. In restaurants, similar printers or kitchen displays are used to send orders to food prep areas.
Cash Drawer and POS Software
The cash drawer stores bills and coins and opens automatically during cash transactions. The POS software runs in the background, managing the register screen, calculating tax, recording payments, updating inventory, and storing sales history.
Speak with a product specialist and learn how KORONA POS can power your business.
How to Set Up a POS System
Managers or vendors often handle the full setup, but staff benefit from understanding how it works so they can troubleshoot faster. A properly configured system ensures prices, taxes, payments, and receipts behave correctly before real customers are involved.
Connect and Test the Hardware
Begin by setting up the physical POS hardware: the POS terminal or tablet, barcode scanner, card reader, receipt printer, and cash drawer. Power everything on and confirm each device responds correctly. Catching connection issues early avoids problems later when transactions begin.
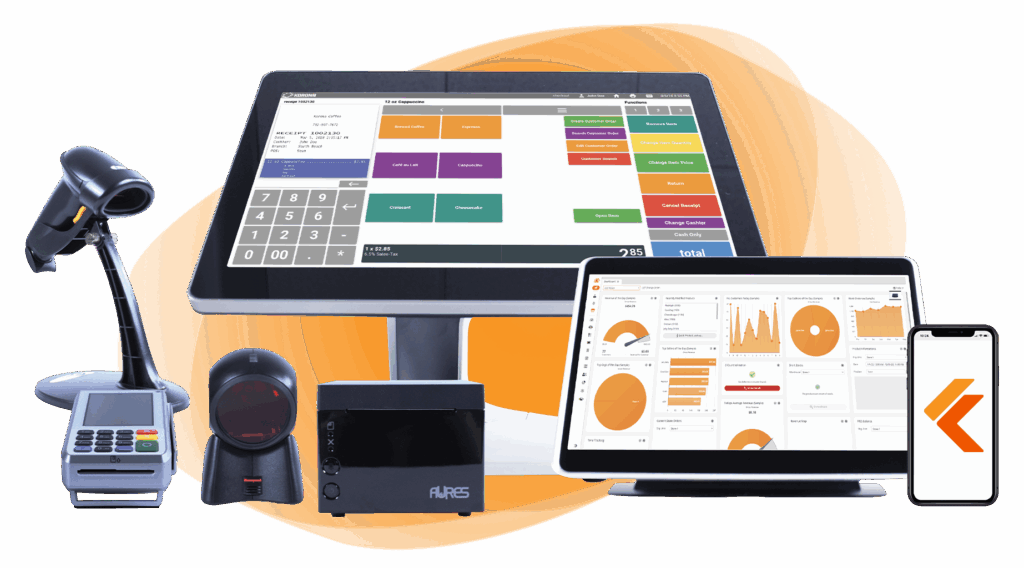
Build Your Own POS
Whether you run a retail store, café, or admissions booth, we have the point of sale hardware designed for your specific needs. Start building your ideal POS system now.
Log in to and Prepare the POS Software
Next, access the POS software that runs the system. It is where the register screen, settings, and sales activity live. Make sure the software loads properly on the terminal and that the register screen is accessible. You can learn more about this layer in an overview of POS system software.
Add Products, Menus, and Categories
Enter products or menu items into the system and organize them into clear categories. Retail businesses typically assign barcodes, while restaurants configure modifiers like size or add-ons. Accurate item setup directly affects checkout speed and pricing accuracy.
Configure Taxes, Discounts, and Payments
Set up tax rules so totals calculate correctly at checkout. Add any discounts or promotions you offer. Then configure payment types such as cash and card payments. This step ensures transactions process correctly, which is especially important when learning how to integrate payment processing with a POS.
Payment processors giving you trouble?
We won’t. KORONA POS is not a payment processor. That means we’ll always find the best payment provider for your business’s needs.
Customize Receipts and Store Settings
Adjust receipt settings to include your business name, items sold, totals, and payment method. Decide whether receipts print automatically or only when requested. These settings help reduce confusion for customers and staff during busy shifts.
Create Employee Logins and Permissions
Set up employee accounts so each staff member signs in with their own login. Assign permissions based on role, such as cashier or manager. It limits access to sensitive settings and helps track activity throughout the day.
Run a Test Sale
Before serving customers, always run a test sale. Scan an item, apply tax, process a payment, and print a receipt. A test sale is not optional; it’s the final check before going live. For a complete walkthrough, see this guide on how to set up a POS system, especially if you’re using a cloud POS system.
How to Use a POS System?
Using a POS system follows the same basic flow across most businesses. Once you understand the order of actions, ringing up customers becomes consistent and predictable, even during busy shifts.
The Standard Checkout Flow
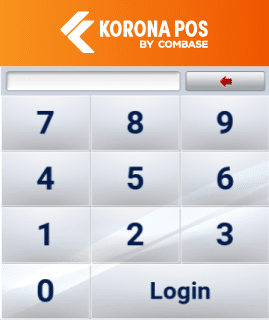
Step 1: Log In and Start a Sale
Log in using your employee PIN or login credentials. It ensures the sale is tied to your shift. From the register screen, start a new sale. Always confirm you’re on a fresh transaction before adding items to avoid mixing orders.
Above: Employee login and register screen in KORONA POS
Step 2: Add Items to the Sale
Add items by scanning barcodes, creating products, tapping product buttons, or searching by name. Adjust quantities if needed. For items with options, select the correct modifier before moving on. Double-check the cart to ensure quantities are correct and nothing has been missed or scanned twice.
Above: Active sale with items added to the cart in KORONA POS
Step 3: Review Totals and Take Payment
Confirm the subtotal, tax, discounts, and final total. Ask the customer for their payment type and follow the on-screen prompts. Wait for payment approval before proceeding.
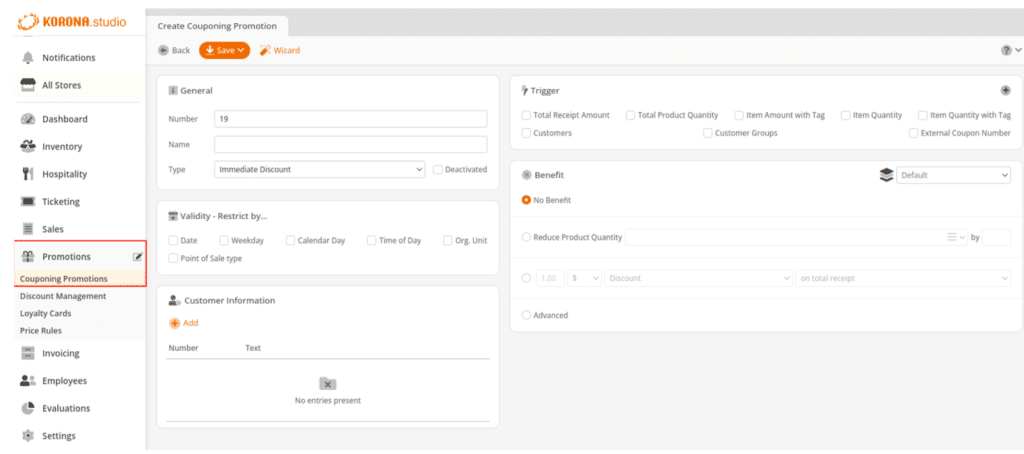
Above: Payment screen showing how to create couponing promotion options in KORONA POS.
You can watch this video and learn about the KORONA POS coupon and promotion wizard tool
Step 4: Complete the Sale and Provide the Receipt
Finish the transaction and provide a printed or digital receipt. Make sure the register resets to a new sale screen before calling the next customer. This confirms the transaction closed properly.
Using a POS System by Industry
The sections below will look at the differences in points of sale by industry. Different business types require different features; it’s important to know what to look for when buying a new POS system.
Retail POS
In retail, employees scan or search items, apply discounts, and process returns or exchanges when needed. The most common mistakes are scanning the wrong barcode or forgetting to confirm discounts before payment.
Pro Tip
A quick speed tip is to glance at the cart after each scan to catch errors early.
Restaurant POS
Restaurant staff open tables or check, add items with modifiers, send orders to the kitchen, and handle tips or split checks.
Mistakes usually happen when modifiers are skipped or when items aren’t sent to the kitchen. A helpful speed tip is to review the order once before sending it to avoid remakes.
Quick-Service or Café POS
Quick-service checkout focuses on fast tickets, combo buttons, and holding or recalling orders during rushes.
Employees often forget to recall held orders or select the wrong combo. Use preset buttons instead of manual item entry during peak hours. Check this guide to learn more about the best POS systems for quick-service restaurants (QSR).
Pro Tip
Always keep one hand on the touchscreen and the other ready to grab the next cup to maintain a fast rhythm.
Grocery or Convenience POS
Grocery checkout relies heavily on barcode scanning, PLUs for produce, weighted items, and age-restricted prompts.
Common errors include entering the wrong PLU or skipping ID checks. Memorize the PLUs for the five most popular fruits to significantly decrease the time customers spend in your line.
Service Business POS
Service businesses use a POS to retrieve customer profiles, collect deposits, close appointments, and issue invoices or receipts.
Mistakes often involve selecting the wrong customer or failing to collect partial payments.
Avoid the mistake of checking out a guest without updating their contact info, as you’ll lose the ability to send future reminders.
Pro Tip
If a deposit was paid in advance, apply it to the final balance so the customer isn’t overcharged.
POS Best Practices for Staff
Adopting a few simple habits at the register will keep your lines moving and prevent avoidable mistakes. These practices protect both the store’s inventory and your own accountability during a shift.
Always Use Your Own Login
Log in with your own PIN or credentials at the start of every shift. Never share logins with coworkers, even during rushes.
Individual logins protect you if a mistake happens and help managers trace issues, so it’s easier to get to a resolution.
Double-Check the Cart Before Taking Payment
Before selecting a payment type, pause and review the cart. Look for duplicate scans, wrong quantities, or incorrect prices.
This quick check prevents refunds/chargebacks, awkward conversations, and inventory problems later. Catching errors before payment is faster than fixing them afterward.
Handling Declined Cards Professionally
If a payment fails, do not panic or embarrass the customer. It is helpful to understand common credit card declined codes so you can explain if the issue is a simple chip error versus a bank block.
Knowing how to help customers handle credit card declined codes with a calm suggestion to try another card keeps the interaction positive.
Maintain Hardware Cleanliness
A dirty scanner lens or card reader can lead to lag and frustrated shoppers. Wipe down your touchscreen with a microfiber cloth and ensure no debris is stuck in the receipt printer.
Regular maintenance prevents the need for troubleshooting a system malfunction in POS hardware in the middle of a busy holiday rush or weekend shift.
Select the Correct Customer for Loyalty
If your store uses customer profiles or loyalty accounts, confirm the correct customer is selected before checkout.
PRO TIP
Attaching a sale to the wrong profile can cause missing rewards and customer complaints. Ask for confirmation rather than guessing, especially with similar names.
Double-Check Manual Price Entries
When a barcode won’t scan, and you have to type in a price manually, double-check the decimal point. A simple typo can turn a $10.00 item into $1.00 or $100.00, throwing off the daily drawer count.
If you aren’t sure of a price, it is always better to call for a quick price check than to guess.
Keep the Checkout Area Organized
A clean register area prevents mistakes. Keep scanners clear, receipt paper loaded, and the cash drawer organized. Clutter slows you down and increases the chance of misplacing cash or scanning the wrong item during busy periods.
Follow Cash Handling Rules Exactly
Count the change carefully and place the bills in the drawer, all facing the same direction. Never leave the drawer open or cash unattended. It protects you if there’s ever a discrepancy at the end of a shift. Follow cash handling procedures established by your store manager.
Log Out When You Step Away
If you leave the register, log out, or lock the screen. You’ll avoid unauthorized transactions under your name and protect both you and the store. Even short walkaways can cause issues if someone else uses your open register.
Report POS Issues Right Away
If the system freezes, prints incorrectly, or behaves oddly, report it immediately instead of guessing or working around it. Knowing the basics of troubleshooting a POS system malfunction helps prevent small issues from turning into bigger problems.
Common POS Problems & Quick Fixes
This section offers a simple troubleshooting guide to common issues that managers can share with staff. Each issue starts with what you see on screen, explains the likely cause, and gives the safest fix to try during a shift.
Card Reader Won’t Connect
- Symptom: Card reader shows “disconnected” or won’t accept payments
- Likely cause: Loose cable, Bluetooth drop, or reader powered off
- Quick fix: Check cables or Bluetooth, confirm the reader has power, and restart only the card reader, not the entire POS
Receipt Printer Is Not Printing
- Symptom: Sale completes, but no receipt prints
- Likely cause: Wrong printer selected, paper loaded incorrectly, or printer offline
- Quick fix: Check paper orientation, confirm the correct printer is selected in settings, and power-cycle the printer only
POS Screen Freezes During Checkout
- Symptom: Screen stops responding or won’t move to the payment screen
- Likely cause: Temporary software hang or overloaded register
- Quick fix: Wait a few seconds, then close and reopen the register app before restarting the entire device
Incorrect Prices at Checkout
- Symptom: Item scans at the wrong price
- Likely cause: Item was entered incorrectly or an old price is still active
- Quick fix: Pause the sale, correct the price or item, and notify a manager – do not override prices repeatedly without approval
Network or Internet Outage
- Symptom: Payments fail or the POS cannot load
- Likely cause: Internet or local network issue
- Quick fix: Check Wi-Fi or Ethernet connection and confirm other devices are online
Accidental Double Charge
- Symptom: Customer is charged twice for the same transaction
- Likely cause: Payment button pressed twice or a delay during approval
- Quick fix: Check the transaction list before retrying payment; if a duplicate exists, void or issue a refund per store policy, and document the issue
Cash Drawer Won’t Open
- Symptom: Drawer does not open after a cash sale
- Likely cause: Loose cable or drawer not assigned to the register
- Quick fix: Check the drawer cable and confirm it’s assigned correctly; if cash handling is affected, follow proper till procedures, as outlined in cash handling best practices
Employee Cannot Log In
- Symptom: Login or PIN is rejected
- Likely cause: Wrong PIN or permissions not assigned
- Quick fix: Have a manager verify the login and permissions, and never share login info
Payment Errors or Security Warnings
- Symptom: Payment blocked or security alert appears
- Likely cause: Compliance or processing restriction
- Quick fix: Do not bypass warnings, stop transactions, and contact support
PRO TIP
If card payments are failing, duplicate charges continue, or the system is down during business hours, stop troubleshooting and contact support. Never guess or bypass safeguards when money or customer data is involved.
Have trouble getting your POS customer service on the phone?
KORONA POS offers 24/7 phone, chat, and email support. Call us at 833.200.0213 to see how reliable we are.
KORONA POS is a POS System That’s Simple on Day One With 24-Hour Support: KORONA POS
One of KORONA POS’s strongest advantages is its exceptional POS support. Live, U.S.-based support is available 24 hours a day, which means help is available during late nights, weekends, and peak business hours when problems can’t wait.
KORONA POS is processing agnostic and supports dual-pricing. Merchants can accept payments without being locked into a single processor. KORONA POS is built for high-volume retail, franchises, and multi-location businesses, including liquor stores, vape and smoke shops, CBD retailers, convenience stores, tobacco shops, and quick-service restaurants.
To see how KORONA POS works for your business, sign up for a demo or call us at 833-200-0213.